When your heater is not working properly, it can disrupt daily comfort and peace of mind. Waiting for professional help might seem like the only option, but there are several steps you can take to identify and possibly fix common issues before making that call. This approach could save you both time and money, ensuring that you only reach out for assistance when it’s truly necessary.
Our checklist provides practical steps to address heater problems, making it easier to troubleshoot common concerns. From checking the thermostat settings to inspecting ductwork, these simple actions can often solve minor issues. However, if the problem persists, it’s crucial to contact professionals for thorough inspection and repair.
By following this guide, you’ll better understand your heating system’s functionality and maintenance needs. This knowledge not only helps in immediate troubleshooting but also in maintaining your heater for long-term efficiency. Taking a proactive approach can ensure your home remains warm and comfortable no matter the season.
Before You Call: Complete Heater Problem Checklist
1. Check the Thermostat Settings
The first step in troubleshooting your heater is to check the thermostat settings. Ensure the thermostat is set to “heat” mode and that the temperature setting is higher than the current room temperature. Sometimes, the settings may be accidentally changed, and adjusting them can solve the issue.
Next, verify that the thermostat is functioning properly. If it’s a battery-operated model, replace the batteries with fresh ones. Also, clean the thermostat to remove dust and debris, which can interfere with its sensors and performance. If the thermostat has a programmable feature, double-check the schedule to ensure it corresponds to your desired heating times.
If you’re still uncertain, try setting the thermostat to a much higher temperature to see if the heater responds. A quick test like this can help determine if the thermostat is the culprit or if another issue exists.
2. Inspect Power Supply
Ensuring a consistent power supply is crucial for your heater’s operation. Start by confirming the heater is securely plugged into an electrical outlet. Sometimes, cords can get dislodged accidentally, preventing the system from turning on.
Next, check the circuit breaker panel. Look for any tripped breakers and reset them if necessary. A tripped breaker can cut off power to your heater, which is a common cause of sudden shutdowns. If the breaker trips again after resetting, you may need professional assistance, as this could indicate a more significant electrical issue.
For gas heaters, ensure that the gas valve is open and that there are no leaks. A closed valve or gas supply issues can prevent the heater from igniting and operating efficiently. Regular checks can help you catch these problems early.
3. Examine the Air Filters
Clean air filters are essential for efficient heater operation. Locate your heater’s air filters, which are typically found in the return air duct or inside the heater itself. Once found, remove and inspect the filters for dirt, dust, and debris. Dirty filters can restrict airflow, making your heater work harder and less efficiently.
If the filters are dirty, clean or replace them. For washable filters, rinse them under running water and let them dry completely before reinstalling. Disposable filters should be replaced with new ones. Regular maintenance of air filters not only improves system efficiency but also enhances indoor air quality.
Replacing air filters regularly is a simple task that can prevent many heater issues. Make it a routine to check and change filters every one to three months to keep your system running smoothly.
4. Listen for Unusual Noises
Listening to unusual noises from your heater can help identify specific issues. Common sounds include banging, whistling, or grinding, each indicating a different problem. Banging noises might suggest loose or broken components, while whistling could indicate airflow restrictions. Grinding noises often point to motor or bearing issues that require immediate attention.
When you hear an unusual noise, try to locate the source. Sometimes, the cause can be as simple as a loose panel or screws, which you can tighten yourself. However, more complex noises may require professional diagnosis and repair.
Document any unusual sounds and note when they occur. Providing this information to our professionals can help them diagnose and fix the problem more efficiently. Silence from your heater is a good sign it’s operating smoothly, so any deviations are worth investigating.
By following these initial steps, you can quickly identify and address many common heater issues, ensuring your home remains warm and comfortable.
5. Check Vents and Registers
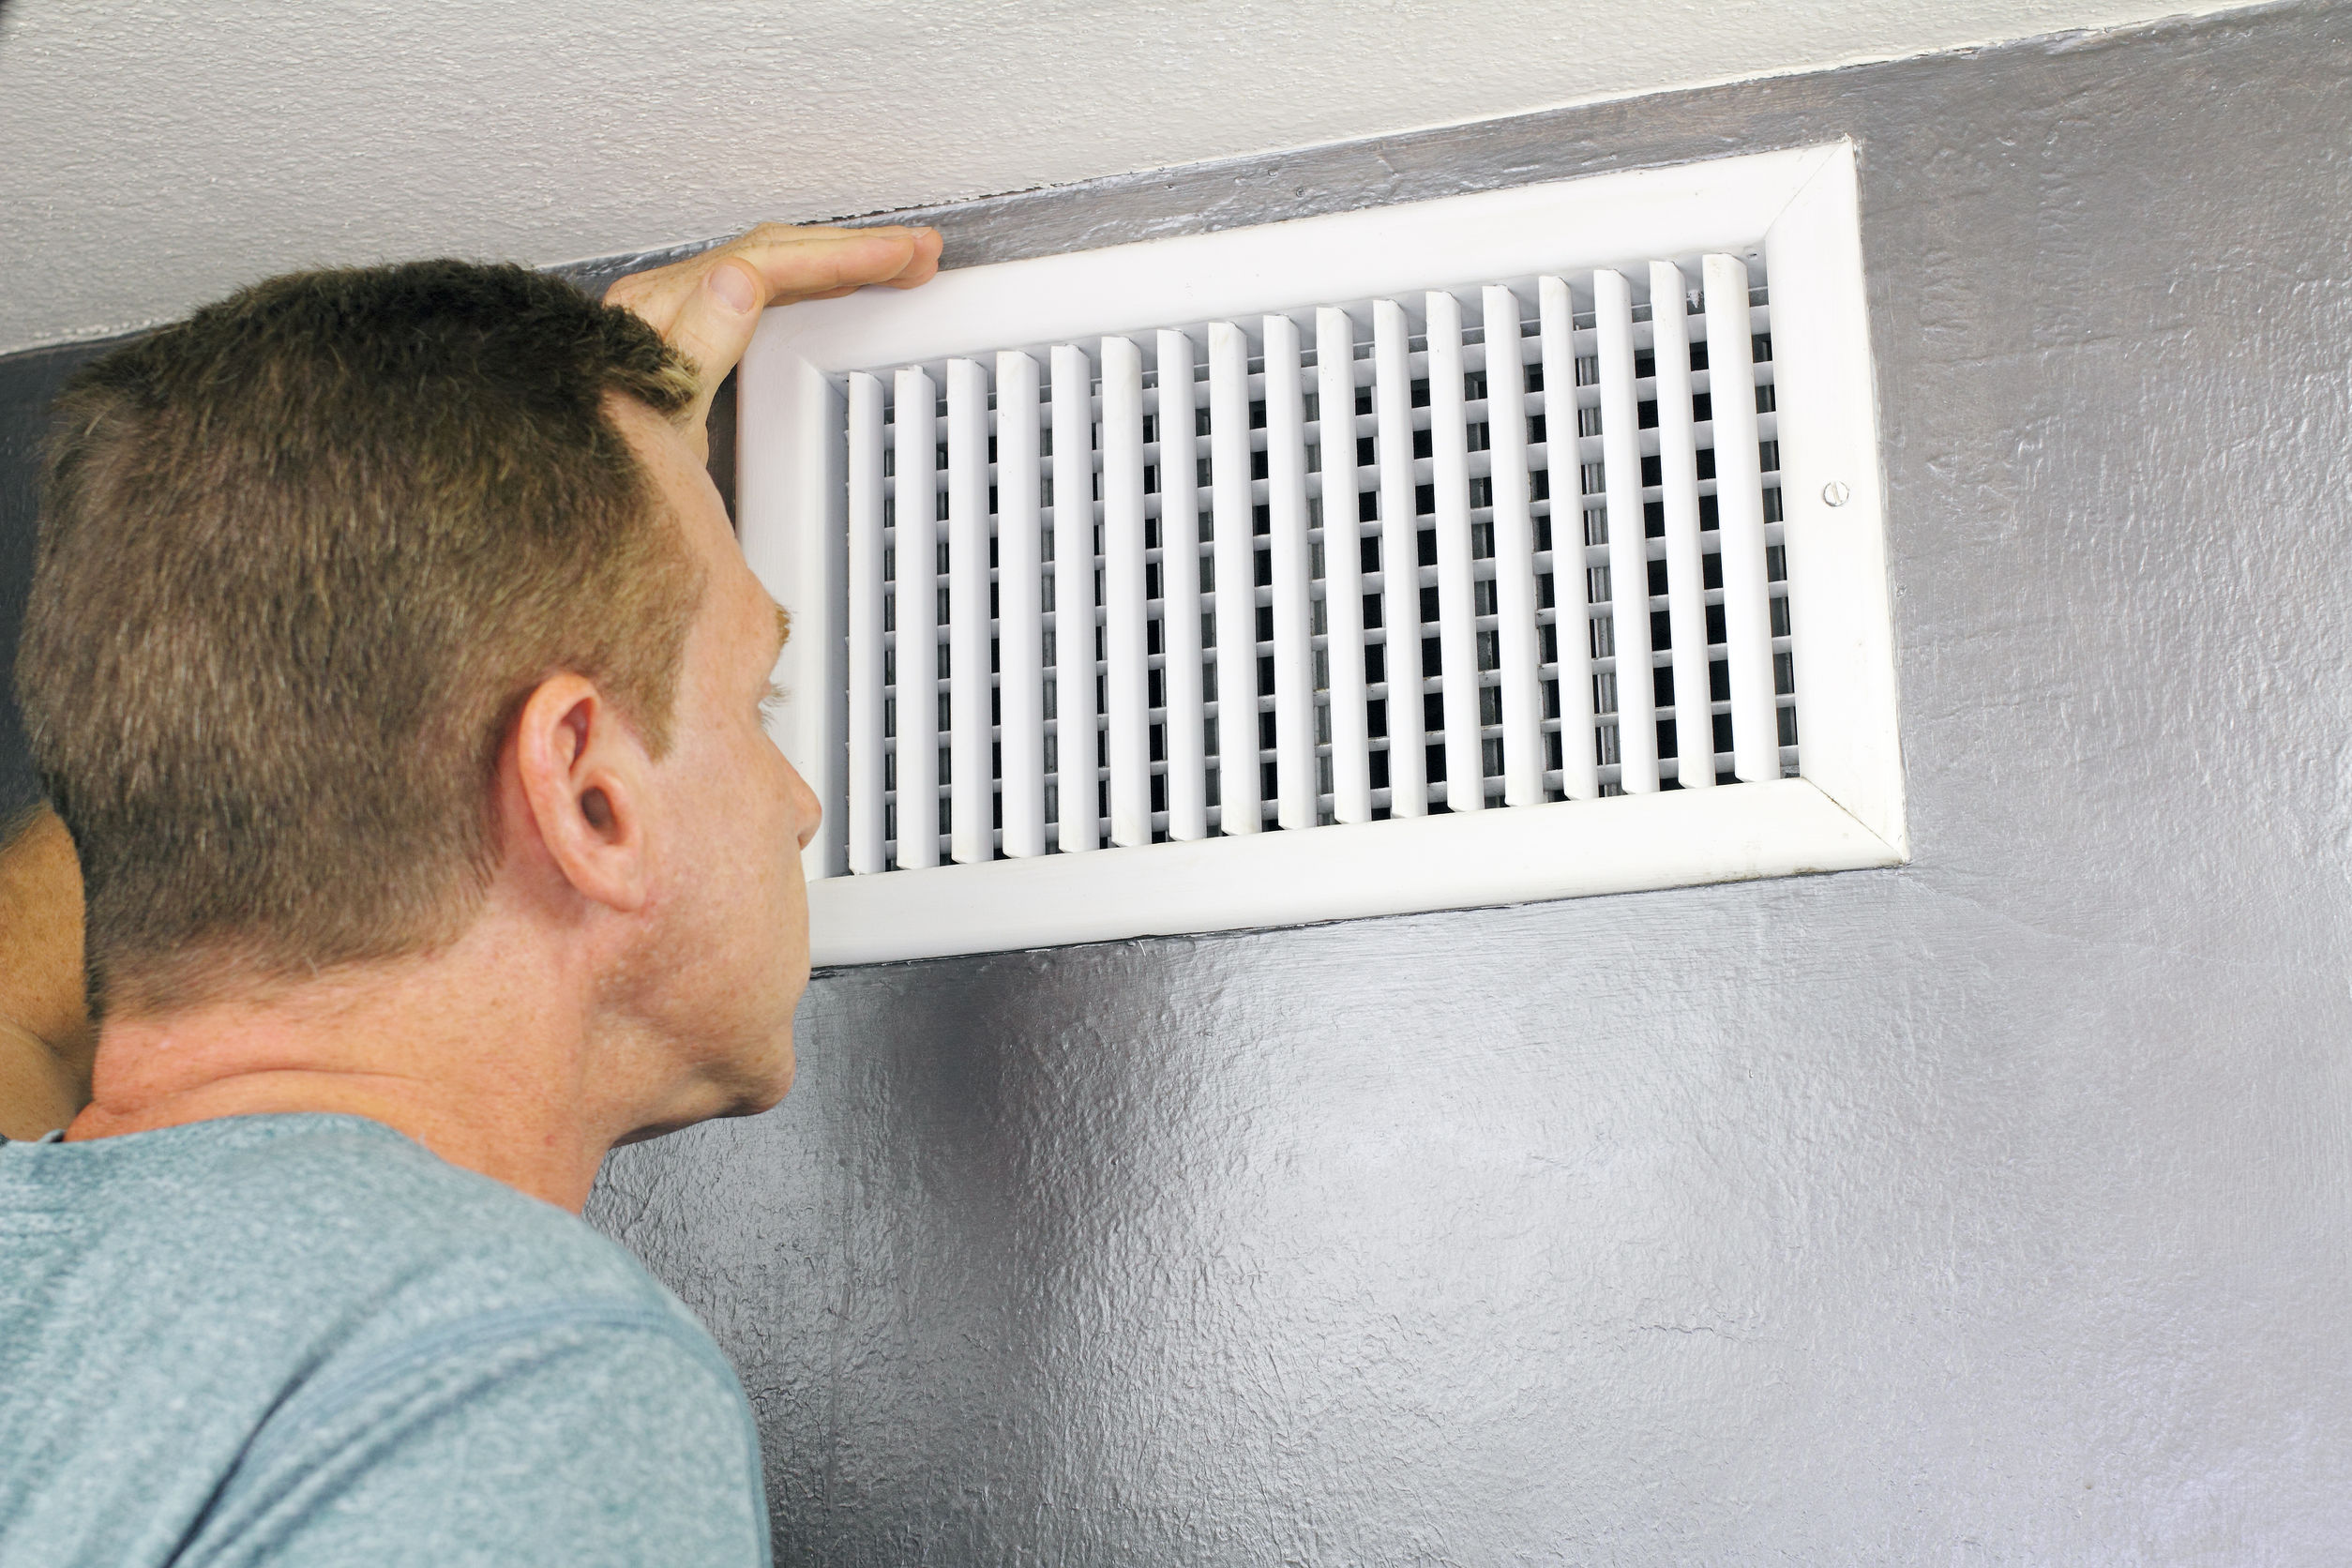
Blocked or closed vents and registers can limit airflow, making your heater work harder. To ensure optimal performance, walk through your home and check all vents and registers. Make sure they are fully open and unobstructed by furniture, curtains, or other household items. Proper airflow is crucial for heating efficiency and comfort.
If you find any blockages, clear them right away. Sometimes, small objects or debris can get lodged in vents, disrupting airflow. Remove these obstructions to let air circulate freely. It’s also a good practice to regularly clean the vent covers, as dust and dirt can accumulate over time.
Keeping vents and registers open and clean not only boosts your heater’s efficiency but also improves indoor air quality. This simple check can prevent many common heating issues and ensure your system delivers heat effectively throughout your home.
6. Look for Visible Issues
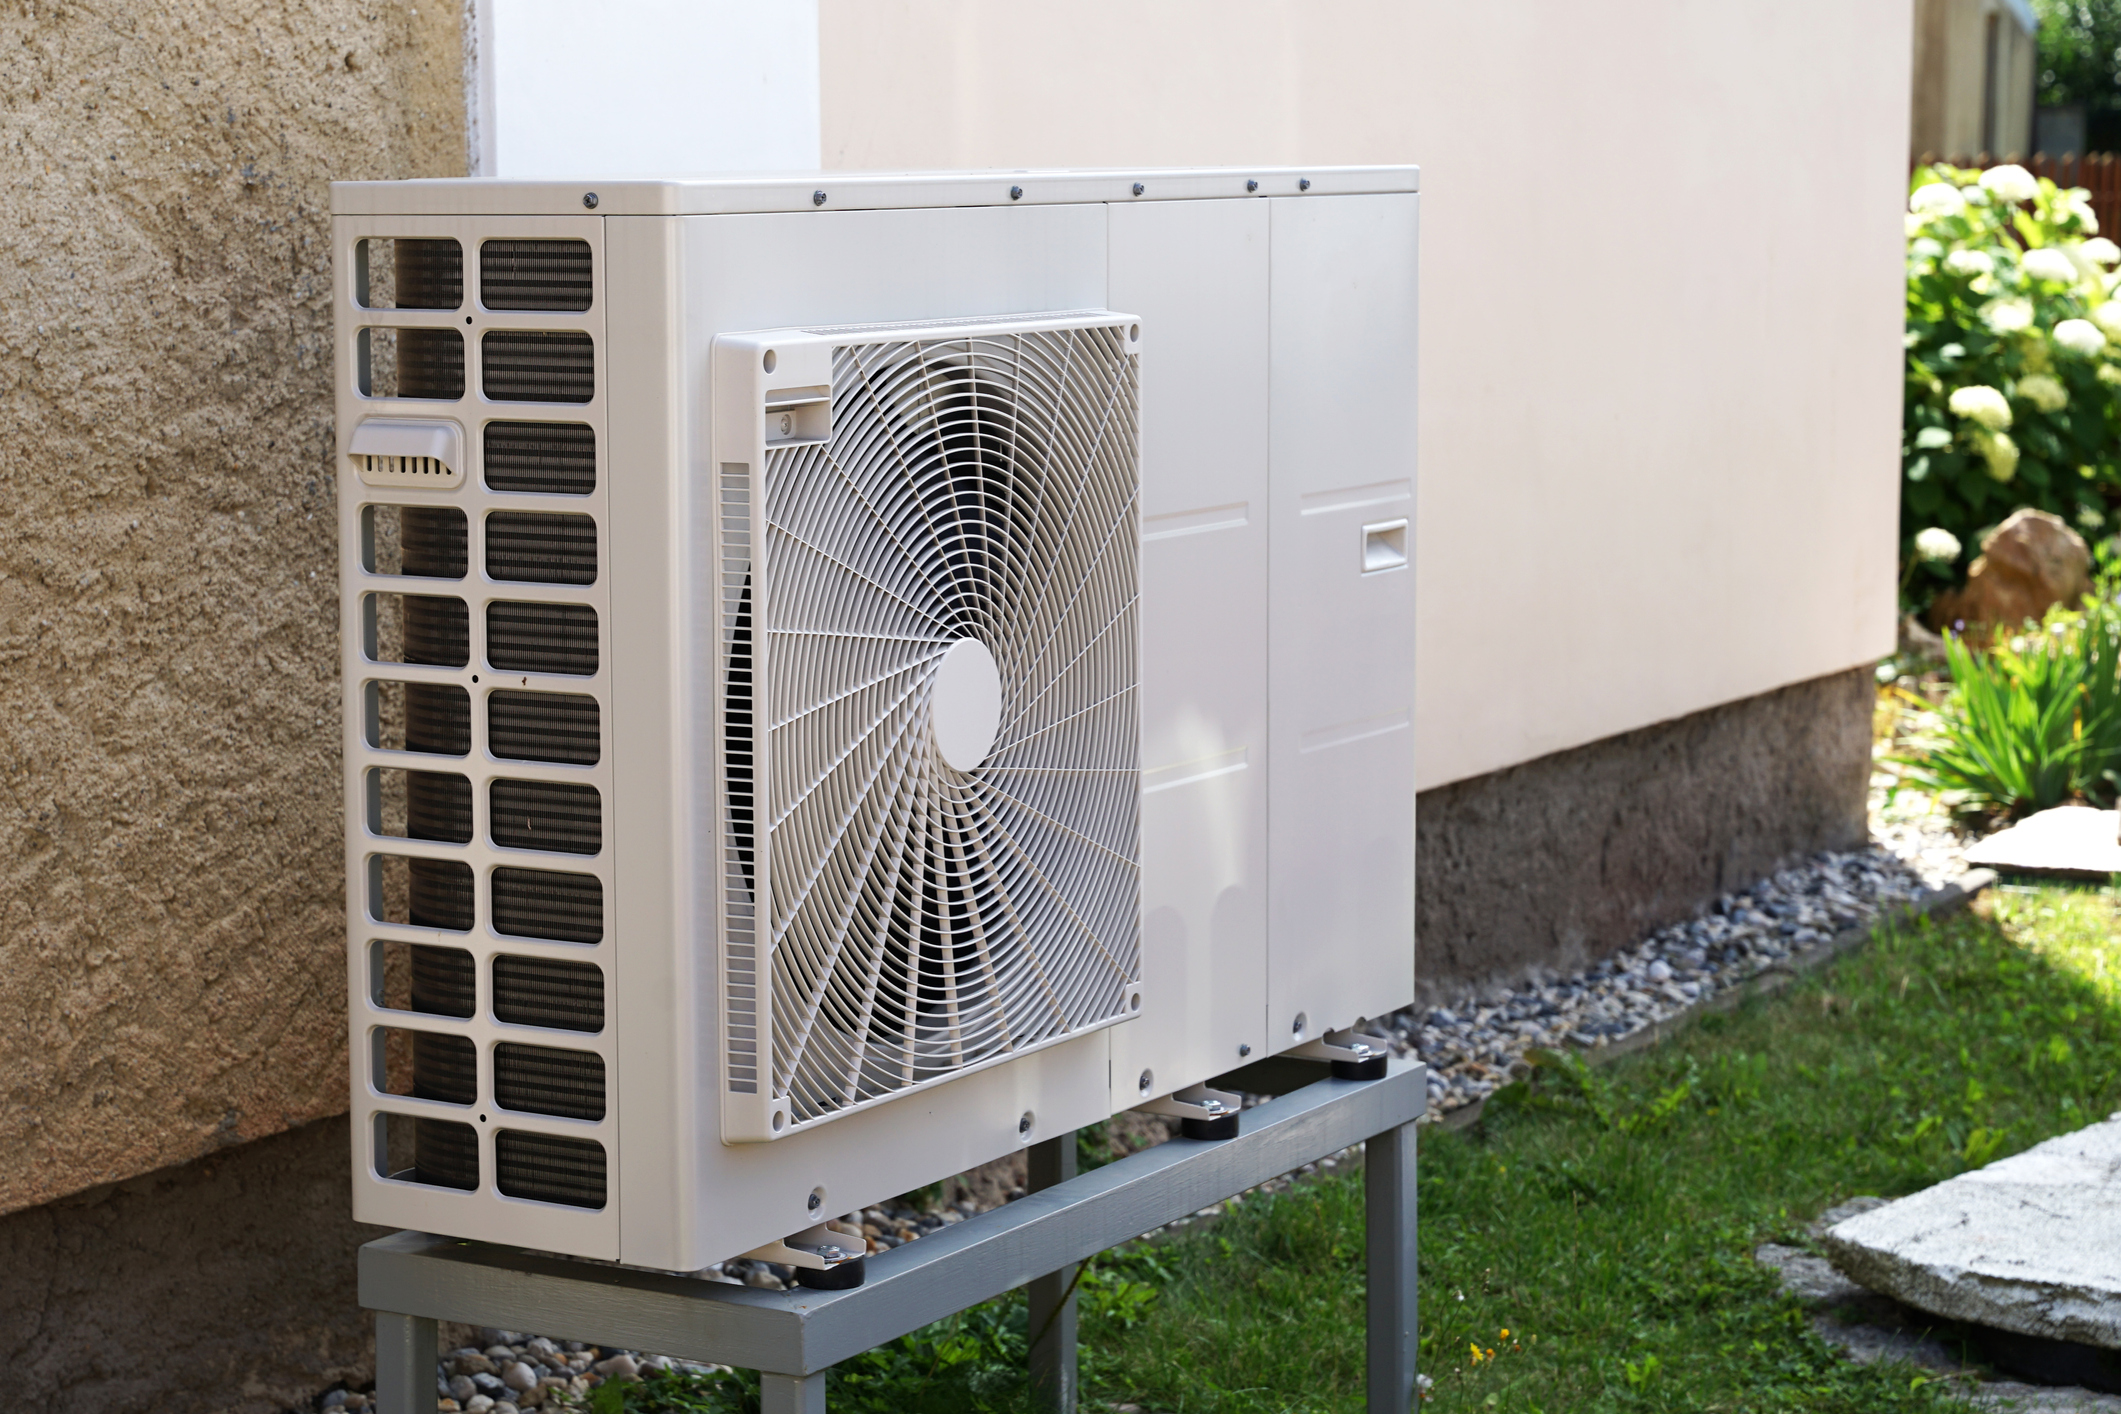
Inspecting your heater for visible damage can help identify problems early. Start by examining the exterior of the unit for any signs of wear and tear, such as rust, dents, or leaks. Visible damage may indicate underlying issues that could affect performance.
Also, check the surrounding area for any signs of water damage or moisture buildup. Leaks or excess moisture can damage electrical components and reduce the heater’s efficiency. If you notice water pooling around the heater, it’s essential to address it immediately.
Recognizing these signs early can help you decide when to call for professional help. While minor wear can sometimes be managed, our technicians should evaluate more significant damage or leaks to prevent further complications.
7. Test the Pilot Light (Gas Heaters)
For gas heaters, the pilot light is essential for ignition. If your heater isn’t producing heat, the pilot light might have gone out. Locate the pilot light and check if it is lit. If it’s not, follow the manufacturer’s instructions to safely relight it. This often involves turning off the gas supply, waiting a few minutes, and then using a match or igniter to light the pilot.
Before attempting to relight the pilot, ensure the gas valve is open. If you smell gas, do not attempt to relight the pilot light yourself. In such cases, evacuate the area and contact our professionals for immediate assistance.
Regularly inspecting and maintaining the pilot light can prevent unexpected heating interruptions. If the pilot light frequently goes out, there may be a deeper issue that requires professional evaluation.
8. Review Furnace Blower Operation
The blower is a critical component of your heater, responsible for moving warm air throughout your home. To ensure the blower is functioning correctly, turn up the thermostat and listen for the blower starting. If it doesn’t start or you notice unusual sounds, there may be a problem.
Common blower issues include worn-out belts, motor problems, or electrical faults. If you suspect a blower issue, it’s time to troubleshoot. Check for loose or frayed belts and listen for any grinding or squeaking noises. These can indicate a failing blower motor or other mechanical issues.
Addressing these problems promptly can prevent more severe damage and ensure your heater operates efficiently. Routine maintenance can keep the blower in good condition, extending the lifespan of your heating system and improving overall performance.
By following these steps, you can identify and resolve common heater issues, ensuring your home remains comfortable and warm. If problems persist, contacting our professionals for a thorough inspection and repair is advisable.
DIY Heater Troubleshooting: Pre-Service Checklist
1. Reset the System
Sometimes, a simple reset can solve minor heater problems. Knowing how to reset different types of heaters can help.
Types of Resets:
- Electric Heaters: Turn off the heater at the thermostat and wait a few minutes before turning it back on. This can reset the system.
- Gas Heaters: Most gas heaters have a reset button near the pilot light or thermostat. Press the button and hold it for about 30 seconds to reset.
- Oil Heaters: These often have a reset button on the control panel. Press it and then restart the system.
When to Reset:
- After Troubleshooting: If you’ve checked other potential issues but are still experiencing problems, resetting the system can sometimes help.
- System Glitches: A reset may resolve any minor glitches that occur within the system.
Caution:
- Frequent Resets: If you find yourself resetting your heater often, it may be a sign of a deeper issue that requires professional help.
- Safety First: Always follow the manufacturer’s instructions for resetting your specific heater model to avoid damage or injury.
Performing a system reset can be a quick fix for minor heater problems, but it should not become a regular solution for ongoing issues.
2. Inspect Ductwork
Checking the ductwork is crucial for your heater’s efficiency and air quality in your home.
Visible Issues:
- Leakage: Look for any gaps, holes, or loose connections in the ducts. These can lead to air leaks, reducing efficiency.
- Blockages: Ensure there are no obstructions inside the ducts that could impede airflow.
Why It Matters:
- Energy Efficiency: Leaking or blocked ducts force your heater to work harder, consuming more energy and increasing utility bills.
- Air Quality: Clean and well-maintained ducts ensure that clean, warm air circulates throughout your home.
Benefits of Regular Duct Cleaning:
- Improved Efficiency: Clean ducts allow for better airflow, making your heater more effective.
- Enhanced Air Quality: Regular cleaning reduces dust, allergens, and other contaminants in your home.
Inspecting and maintaining your ductwork ensures efficient operation and healthy air quality in your home.
3. Evaluate System Age and Efficiency
Assessing the age and efficiency of your heating system helps determine if it’s time for a replacement.
System Age:
- Age Threshold: Most heaters have a lifespan of 10-15 years. If your heater is within this range, it might be time to consider a new system.
- Performance History: Older units often experience more frequent issues and inefficiencies.
Efficiency Considerations:
- Energy Usage: An aging heater usually consumes more energy, leading to higher bills. Upgrading to a modern, energy-efficient model can save costs.
- Consistent Heating: Older systems may struggle to maintain a consistent temperature.
Signs You Need a Replacement:
- Frequent Repairs: Continuous repairs indicate that it might be more cost-effective to replace the unit.
- High Energy Bills: Unusually high utility bills can be a sign that your heater is inefficient and needs upgrading.
Evaluating the age and efficiency of your heating system helps you make informed decisions about repairs or replacement.
4. Contact Professional HVAC Services
Knowing when to call in our professionals can save you time, effort, and potential damage to your heating system.
When to Call Our Professionals:
- Complex Issues: If you’ve gone through all basic troubleshooting steps and the issue persists, it’s time to call in the experts.
- Strange Noises or Leaks: Unusual sounds or visible damage often signal serious problems that require professional attention.
- Frequent Resets: If you have to reset your system often, it likely needs professional diagnosis and repair.
Benefits of Expert Services:
- Accurate Diagnosis: Our professionals at EnviroSafe Plumbing, Heating, Air Conditioning, Water Treatment can pinpoint the exact problem and recommend the best solution.
- Safety: Handling gas or electrical components can be hazardous. Our technicians ensure safe and proper service.
- Peace of Mind: Professional repairs and maintenance extend the lifespan of your heating system, providing long-term reliability.
Opting for professional services ensures your heating system is expertly maintained and repaired, enhancing its performance and longevity.
Conclusion
Routine maintenance and inspections are crucial for the efficient operation of your heating system. Resetting the system, inspecting ductwork, and evaluating the age and efficiency of your heater are key steps in ensuring consistent performance. When issues persist, professional HVAC services provide the expertise and safety required for complex repairs and installations.
EnviroSafe Plumbing, Heating, Air Conditioning, Water Treatment offers comprehensive heating system services, ensuring your home stays warm and comfortable. We have experienced professionals ready to address any heating issue you may have.
If your heater troubles persist despite following this checklist, it’s time to call our team of experts to schedule a service. Our professionals are ready to ensure your home stays warm and comfortable. Contact us today for reliable HVAC repair services in Glassboro, NJ.


